"Simplicity is the ultimate sophistication."
- Leonardo da Vinci
Definition of object
1a: something material that may be perceived by the sensesI see an object in the distance.
b: something that when viewed stirs a particular emotion (such as pity)Look on the tragic loading of this bed … the object poisons sight; let it be hid.— William Shakespeare
from https://www.merriam-webster.com/dictionary/object
For this Project, OBJECT means one item. That item needs to be 3D.
from https://www.merriam-webster.com/dictionary/object
For this Project, OBJECT means one item. That item needs to be 3D.


In order to further create and document who you are through photographs for your Visual Ethnography, Object Photography asks you to choose 5 objects that are meaningful and reflective of who you are. You may pick an items that relates to your own personal interests, culture and/or even your favorite food(s). Think toys, handmade items & favorite little trinkets. Avoid jewelry because it is 2D not 3D.

For this Project you need will to:
1. Gather 5 personal items and
2. Take 5 photos of each object from different angles.
3. Use Natural light
4. Have a neutral or interesting background.
5. Edit 2 of each image for a total of 10 images in PS using filters (directions below)
6. Create a title for each image (10 titles- no artist statement)
6. Post the 10 images and their titles to your new page on your weebly titled Objects.
Suggested Objects:
1. A favorite toy
2. Fruit (a bowl of fruit or bunch of bananas)
3. Fork, knife and spoon (individually)= 3 objects
4. Plant
5. Anything that is singular
Rules for Object selections:
1. NO BRAND NAMES (this is considered unethical)
2. NO TAGS
3. NO SHOES
4. NO WATER BOTTLES or PHONES
5. NO outlet or plugs in the background
6. Use white paper if you have to for the background.
Examples Below
Bad


Okay

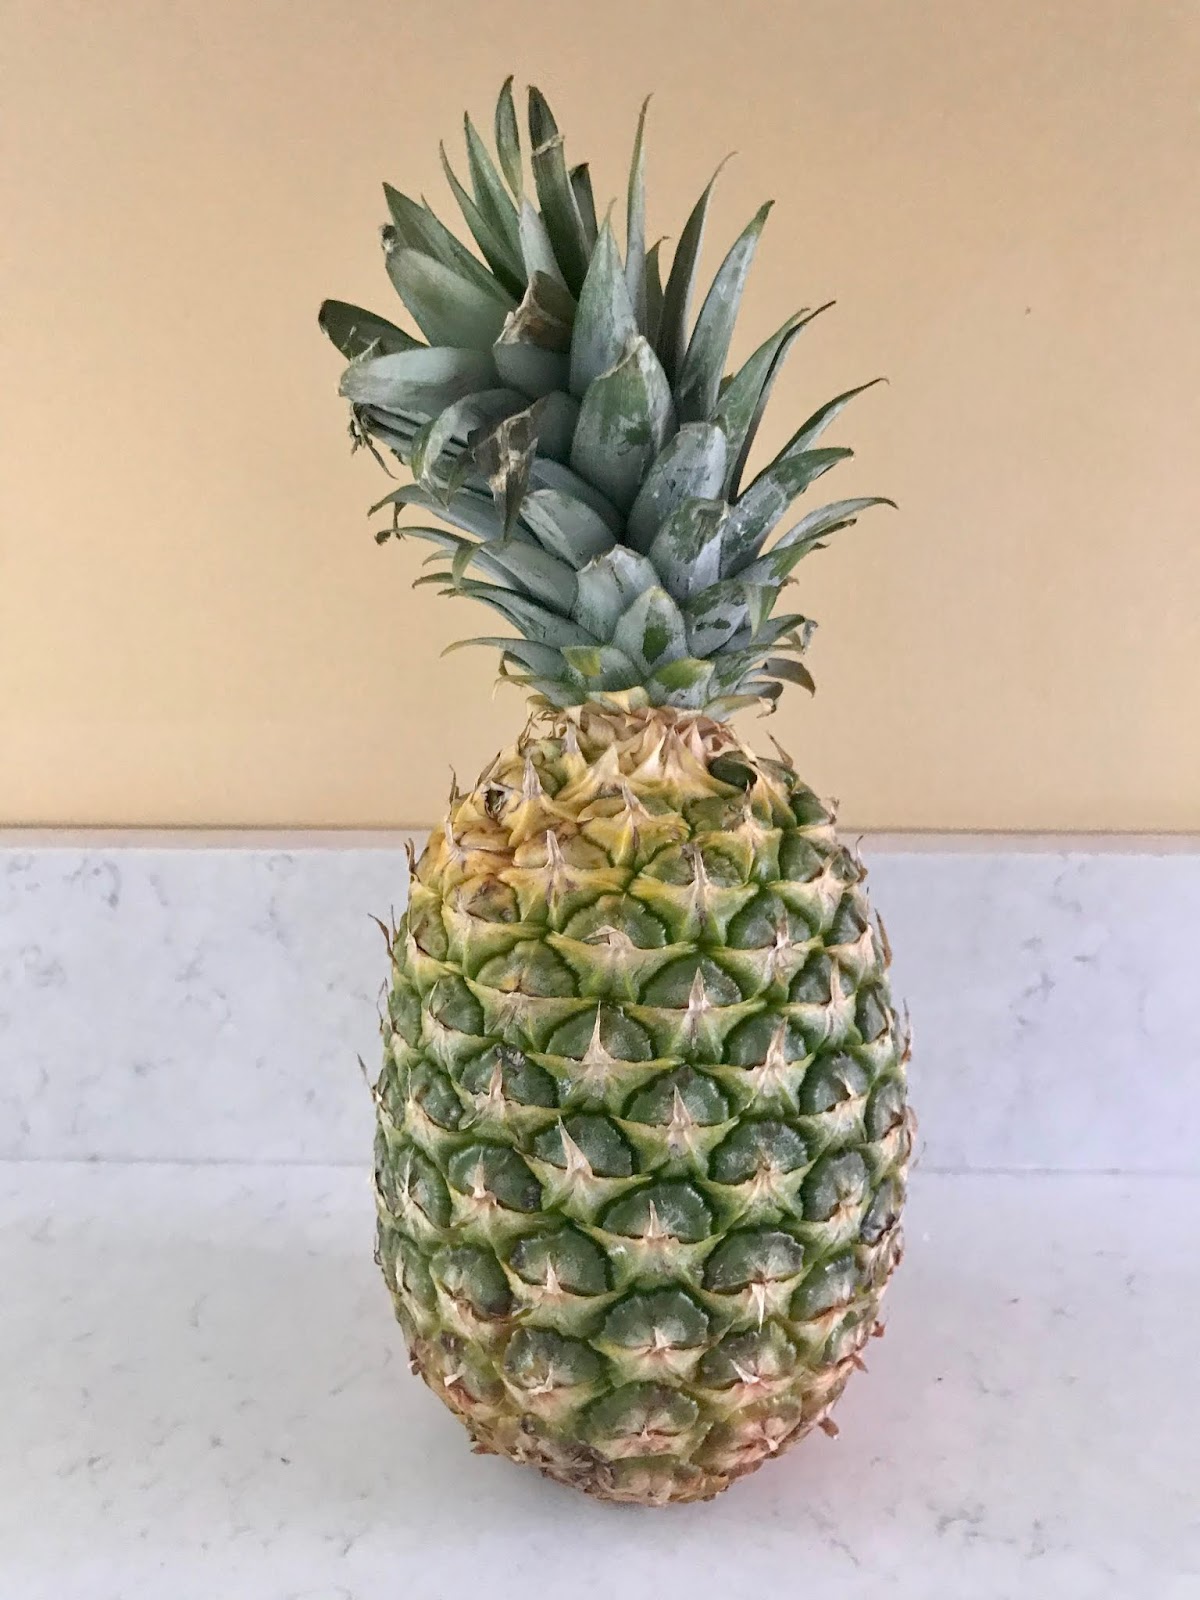
Awesome


The video will help you think of your Object in a different way and hopefully inspire you into picking 5 different interesting objects.
You will need to take pictures in which your object is the focal point. This video will give you ideas of how to take 5 photos of the same object from different perspectives. Watch the video before you begin this project.


Liam Frankland Wendy Oakes

Maurizio di Iorio
We Have Moss by Shelly Corbett.
Food Photographers https://www.photoblog.com/learn/best-food-photographers/ 40 Amazing Macro Shots- http://smashinghub.com/macro-shots-photos.htm
Some other Object/ Still Life Photographers: Marcel Christ, Nori, Ray Massey, David Arky, Jan Groover, David Ashman, Sandy Skogland, Edward Weston and Holly Lackner. Contemporary Photographers (Jerry Uelsmann, Gregory Crewdson, William Wegman, Uta Bath, Jeff Wall, Hiroshi Sugimoto, Holly Andres, Andy Goldsworthy and Alex Prager). Optional and Advanced If you would like to invest in creating your own background this video which is in the next photo Project #5 Still Life will help you.
Other Resources:
10 Easy Ways To Create Stunning Minimalist Compositions at http://iphonephotographyschool.com/minimalist-tips. Object Lesson in History https://www.nytimes.com/2014/09/28/sunday-review/object-lessons-in-history.html 26 Imaginative Images if Inanimate Objects https://digital-photography-school.com/26-imaginative-images-of-inanimate-objects/ 
Once you have you 5 photos (varying perspectives and arrangement) of each of the 5 objects you will process 2 images per Object in Photopea.com or PS with the Adjustments (Curves, Exposure, Brightness/Contrast and Levels) and cropping if necessary. The intent of this project is to use the Pixelate filters (found under the Filter tab) and apply one filter to one of the images from each Object set (2). You will need to apply the Color Halftone, Crystalize, Mezzotint, Mosiac and Pointillize to one of the Objects photos from each set.
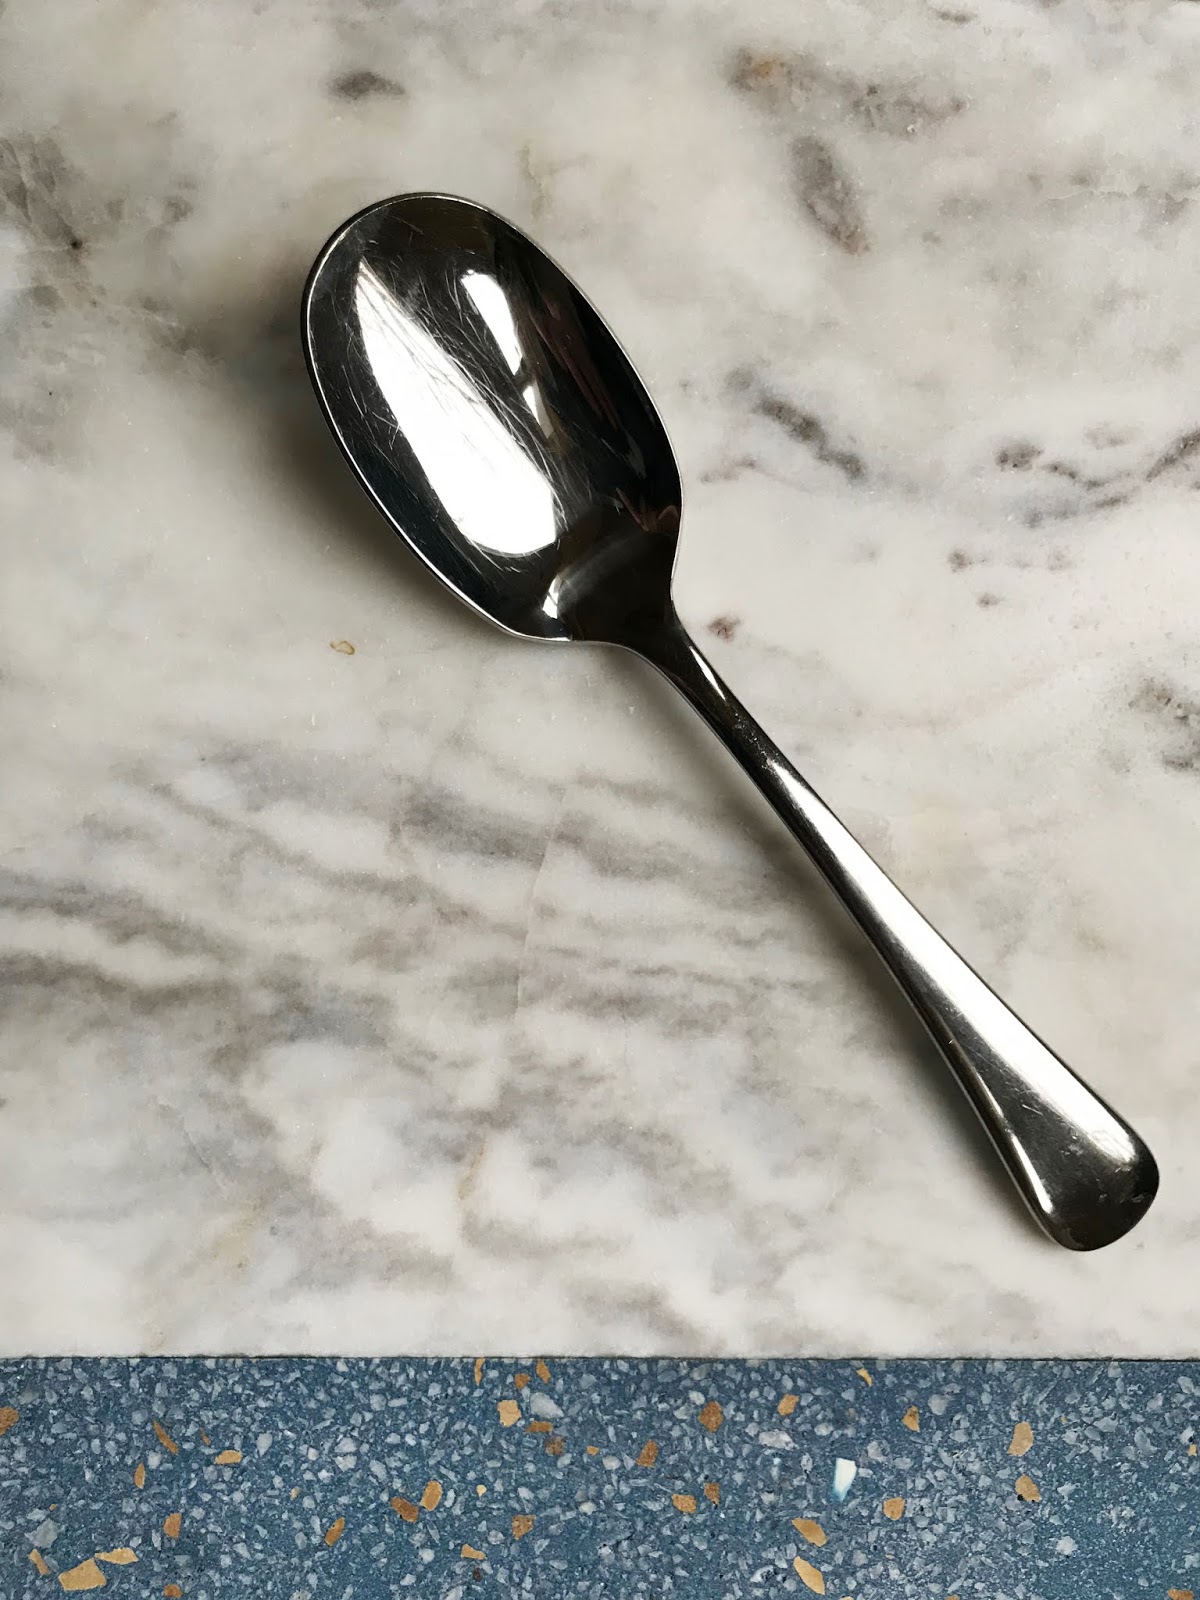  Spoon Day Morning Coffee (Color Halftone)
Make sure to label what filter was used- Color Halftone, Crystalize, Mosiac, Mezzotint and Pointalize. See above. Note: For both Photoshop and Photopea.com- go to Image and Adjustments to find Brightness/Contrast, Levels, Curves and Exposure.    The idea of using the different Pixelate filters (found in Filter- Pixelate) is so that one learns to have well cropped and high resolution images. Many Pop Art artist use similar techniques to create work similar to the pixelated filters. Roy Lichtenstein used Color Halftones for his work.  Images will have the filters found in Pixelate applied to one of the two images edited for each Object. The filters that will be applied (one per object) are the Color Halftone, Crystalize, Mezzotint, Mosiac and Pointillize.

Trouble Shooting before you edit-
Check the size of your image. It may need to be adjusted to a smaller size (8 x 10) if your filters won't show up. Make sure you are on the image layer for the filter to work or it won't.
RESIZING- In Photopea.com go to Image- Image Size and adjust to roughly 8 x 10 or 10 x 8 INCHES.    In Photoshop go to Image- Image Size and adjust roughly 8 x 10 or 10 x 8 INCHES.    Once you have your Object Folder setup you may begin. As always start with File- Open.     If you need to rotate your image you have to go to Image- Transform- Rotate 90 degrees. If not great.  Once your image is set either click on the check or hit return/enter.  Next, you need to edit. Go to Image- Adjustments and apply Curves, Exposure, Brightness/Contrast and Levels. (I usually need Curves and Exposure only so use at least 2).     That was my straight edit so I am going to File- Export- JPG- High Quality. Now I am done with Image 1 of Set 1 and now I have the filter edit.
 Continue with your Edits (Image- Adjustments- Curves and repeat with a different adjustment).    After Adjustments are done, you will go to Filter- Pixelate- Color Halftone.   Play with the slider until you can see the filter effect. Make sure the Preview box is checked. Again, if you image is to big you will need to resize (directions above).  Once the Filter is completed, click OK. Go to File- Export- JPG. Continue with the next for sets- Set 2- One image straight edit and another image of that object with Crystalize. Set 3- One image straight edit and another image of that object with Mosiac. Set 4- One image straight edit and another image of that object with Mezzotint. Set 5- One image straight edit and another image of that object with Pointalize.    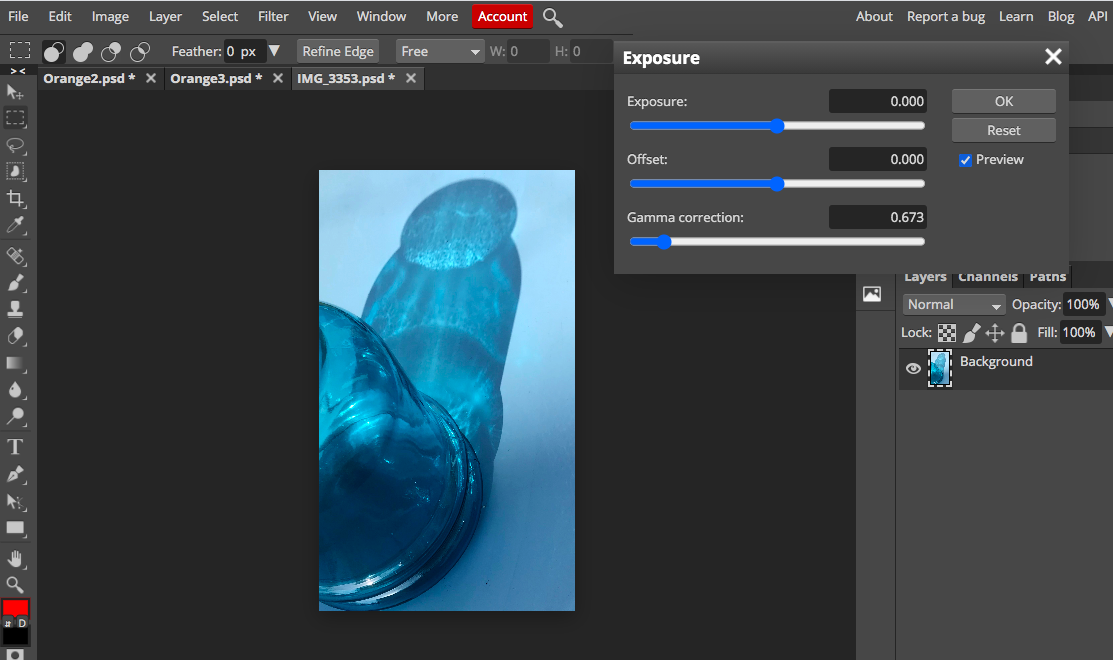       Needed on your website: Image Set 1- 2 images with unique titles and the one with the filter indicated in parenthesis Image Set 2- 2 images with unique titles and the one with the filter indicated in parenthesis Image Set 3- 2 images with unique titles and the one with the filter indicated in parenthesis Image Set 4- 2 images with unique titles and the one with the filter indicated in parenthesis Image Set 5- 2 images with unique titles and the one with the filter indicated in parenthesis No Artist Statements.    |
